
The Art of Painting Baseboards: Techniques and Tips
Painting baseboards is an essential aspect of home improvement that can significantly enhance the look of your rooms. While it might seem straightforward, there are certain techniques and tips that can make the process smoother and ensure a professional-looking finish.
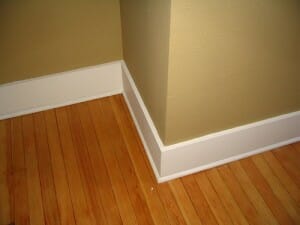
First, gather your supplies. You’ll need trim paint, a high-quality paint brush, fine-grit sandpaper, and painter’s tape. Start by cleaning the baseboards thoroughly to remove any dust or grime.
Then, lightly sand them to create a smooth surface for the paint to adhere to. This step is crucial, especially if the baseboards have a glossy finish or show signs of wear.
Next, use painter’s tape to protect the wall and floor along the edges of the baseboards. When it comes to applying the paint, dip just the tip of your brush into the paint, removing any excess. Paint with long, even strokes, following the grain of the wood. Be mindful to smooth out any drips or excess paint to avoid unsightly marks.
Mastering Crown Molding Painting: From Prep to Perfection
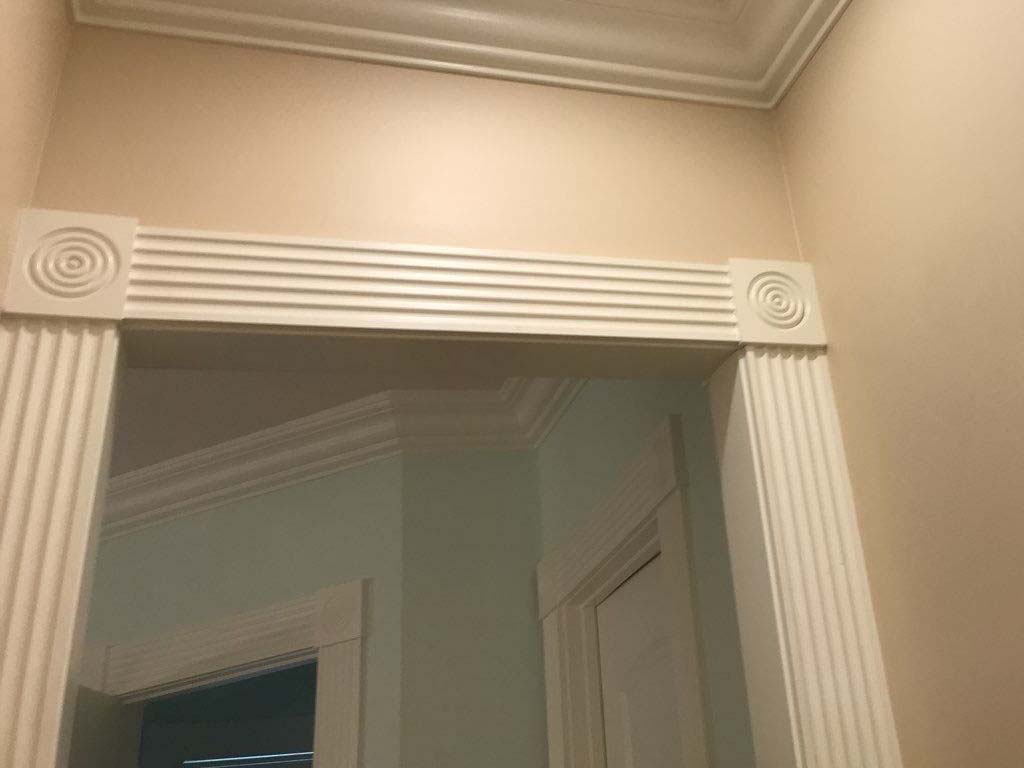
Crown molding can add elegance to any room, but painting it requires precision and the right technique. Before you start, make sure you have all the necessary tools, including a high-quality angled brush, which is crucial for achieving clean, sharp lines.
Begin by cleaning the crown molding and filling in any gaps or nail holes with caulk or wood putty. Once these repairs are dry, sand the surface lightly. As with baseboards, tape off the edges to protect your walls and ceiling.
When painting, hold the brush at an angle to get into the intricate designs of the molding. Apply paint in smooth, long strokes, and be careful to avoid buildup in the crevices. Overlapping your brush strokes will help blend the paint for a uniform appearance.
Choosing the Right Paint for Trim and Molding
Selecting the right paint for trim and molding is crucial for both aesthetic appeal and durability. Oil-based paints are known for their smooth finish and durability, making them a popular choice for trim.
However, they can take longer to dry and might yellow over time. On the other hand, water-based paints, like latex, are easier to work with and clean up. They dry faster and are less prone to yellowing, but they might not be as durable as oil-based options.
For areas that require frequent cleaning, such as door frames or window sills, high gloss paint is ideal due to its durability and ease of cleaning. Latex paint, with its quick drying time and low VOC content, can be a great choice for homes with children or pets.
Painting Techniques for a Flawless Finish
Achieving a flawless finish when painting is all about technique. To avoid brush marks, start with a high-quality paintbrush suitable for the type of paint you’re using. Apply paint using even, long strokes, and avoid overloading the brush to prevent drips.
Remember, several thin coats of paint often give a smoother finish than a single thick coat. Allow each coat of paint to dry completely before applying the next. This not only enhances the paint job’s longevity but also ensures a professional, streak-free appearance.
Prepping and Repairing Trim: A Comprehensive Guide
Achieving a high-quality finish on your trim work begins with thorough preparation. Here’s a step-by-step guide to ensure your baseboards and trim are perfectly primed for painting:
Inspection: Carefully examine your trim for any imperfections. Look for nail holes, dents, scratches, or cracks that need attention.
Filling Holes and Gaps: For any nail holes or small imperfections, use a putty knife to apply wood putty. Ensure the putty is slightly overfilled to account for shrinkage as it dries. Once the putty is dry, sand the areas smoothly with fine-grit sandpaper.
Cleaning the Surface: After sanding, there will be dust and residue on the trim. Wipe the surface with a damp cloth to remove dust. For more thorough cleaning, a mild detergent can be used to ensure no oils or residues are left that could affect paint adhesion.
Taping for Precision: Use painter’s tape to protect the wall paint around the trim. Carefully apply the tape along the edge where the trim meets the wall, ensuring a tight seal to prevent paint bleed.
Priming the Trim: If you’re making a significant color change, or if the trim has stains, apply a coat of primer. This step is crucial for achieving a uniform paint color and enhancing the durability of the paint job.
Final Check: Before you start painting, do a final check to ensure all repairs are smooth and the surface is clean. Any missed spot or residue can affect the final look.
Paint and Color Selection: Consulting the Experts
Choosing the right paint color for trim can significantly enhance the room’s overall aesthetic. When selecting a trim paint, consider the existing wall paint and the room’s style. Opt for a color that complements the paint on the walls and aligns with the room’s design theme.
Brands like Benjamin Moore offer a wide range of high-quality paints and expert color consultation, helping you find the perfect shade for your trim.
Why Professional Help Makes a Difference in Home Improvement
For tasks like painting crown molding and baseboards, professional help can make a significant difference. Hiring a professional painting company like BCI ensures a seamless and efficient paint job.
Professionals bring expertise in surface preparation, paint application, and choosing the right materials, ensuring a high-quality finish that adds value to your home improvement efforts.
Looking for a perfect paint job for your home’s trim and molding? Contact BCI! Our expertise in home improvement and painting crown molding will ensure a beautiful and lasting finish.