

Introduction to Painting Wood Paneling
Painting wood paneling is an excellent way to breathe new life into rooms that feel dated or dark. This simple upgrade can transform your space, making it brighter and more modern without the hefty cost of a full renovation. Painting paneling is not just about changing colors; it’s about unlocking a room’s potential and giving it a fresh, new vibe that reflects your personal style.
Wood paneling was once a popular design choice but can now make interiors look stuck in the past. With the right paint, you can modernize these surfaces, turning a negative into a standout feature. Embrace the transformational power of paint and see how a once-dated space can become contemporary and inviting. In this blog post, we’ll give a step-by-step guide on how to paint wood paneling, so you can bring new life into your home.
Choosing the Right Materials for the Job
The success of your paneling paint job depends significantly on the materials you choose. Opting for high-quality latex paints and the right oil-based primer can make all the difference. Stain-blocking primers are especially crucial as they prevent any existing colors or imperfections from bleeding through the new paint, ensuring a clean and vibrant finish.
When selecting your paint and primer, consider the specific needs of wood paneling. Oil-based primers are excellent for their sealing properties and durability, making them ideal for surfaces that may have been exposed to various elements or have darker colors you wish to cover. Meanwhile, latex paints offer a durable finish that resists peeling and fading, perfect for a long-lasting refresh.
Preparing the Paneling for Painting
Proper preparation is key to ensuring your paint adheres well and looks great. Start by giving your wood paneling a thorough cleaning with a damp cloth to remove any dust or grime. Light sanding follows, which helps to smooth out the surface and ensures the primer can bond effectively. Always lay down a drop cloth before you begin to protect your floors and furniture from paint drips.
Sanding the paneling lightly not only cleans it further but also opens up the pores of the wood, allowing the primer to penetrate deeply. This step is essential for creating a smooth surface that will make your final paint application look professional and even. Be thorough in these initial stages to set yourself up for a successful painting project.
Applying Primer for Long-Lasting Results
Applying a coat of primer is an essential step in the painting process, especially when dealing with wood paneling. Primer helps to create a uniform base that enhances the color and longevity of your topcoat. Use a putty knife to apply caulk as needed to fill any gaps, ensuring a seamless look and solid wood coverage with the primer.
Choosing the right primer can impact the durability and appearance of your paint job. For paneling, a high-quality oil-based primer will provide the best results by sealing the wood and preventing any previous stains or colors from showing through. Carefully brush the primer into every crease and corner, setting a perfect stage for your chosen paint.
Techniques for a Smooth Paint Application
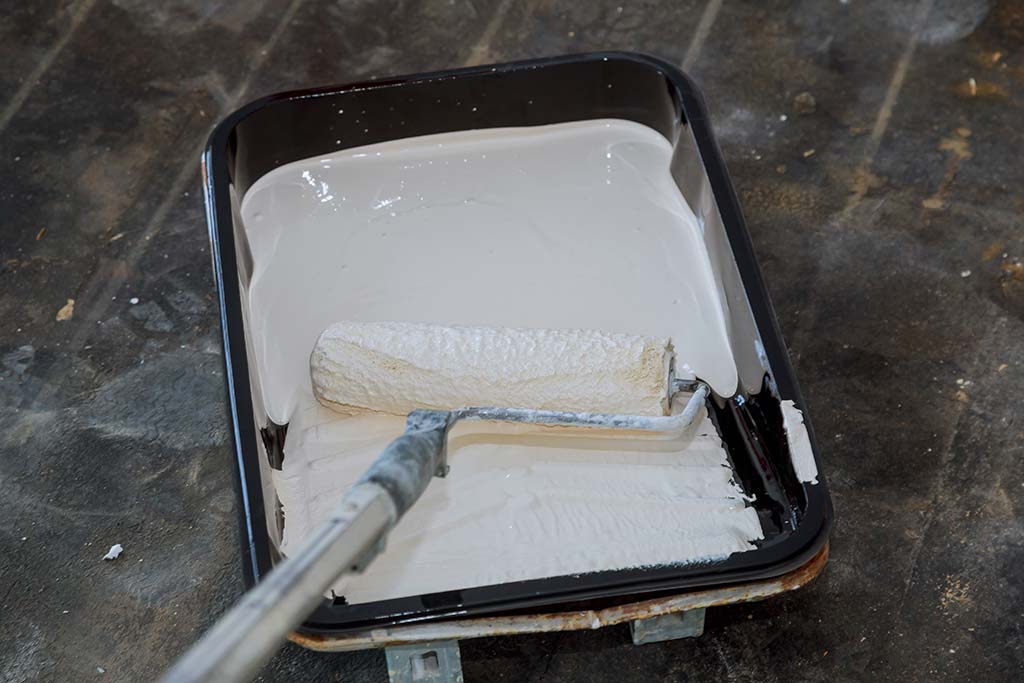
Achieving a smooth paint application on wood paneling requires patience and the right technique. Begin with a thin coat of paint, using smooth, even strokes to cover the primed surface. Allow this base layer to dry completely before applying a second coat. This method ensures full coverage and helps avoid streaks or uneven patches.
When applying the second coat of paint, be mindful to smooth out any drips or ridges from the first layer. This is crucial for creating a flawless finish on your paneling. The goal is to build up the paint gradually, allowing each layer to dry thoroughly to achieve a professional-looking result that enhances the room’s overall aesthetic.
Adding Finishing Touches and Detail Work
After the main coats of paint have dried, it’s time to focus on the finishing touches. Using a putty knife, fill in any small imperfections or nail holes that may have become more apparent after painting. This detail work is essential for achieving a polished look. Apply a final coat of paint over these areas to ensure everything blends seamlessly.
Inspect your painted paneling closely, looking for any missed spots or potential improvements. A small brush can be handy for touch-ups, allowing you to address any areas that need a bit more paint or smoothing. These final efforts can significantly impact the overall quality and appearance of your painting project, ensuring your paneling looks impeccable.
The Importance of Drying Time
Patience is vital when painting paneling, particularly when it comes to drying time. Allow at least 24 hours between coats to ensure the paint has set properly, which will prevent future peeling or chipping. This waiting period is crucial for the paint to cure, which solidifies its bond to the paneling and enhances the durability of your work.
Following the manufacturer’s instructions for drying times can save you from a lot of headaches. Rushing this process can lead to a less than satisfactory finish, requiring more work in the long run. Properly dried paint will result in a smooth, resilient surface that stands the test of time and use.
Maintaining Your Newly Painted Paneling
To keep your newly painted paneling looking its best, regular maintenance is essential. Use a soft, damp cloth for routine cleaning to remove any dust or marks that might accumulate over time. This gentle approach helps maintain the paint’s integrity while keeping the paneling clean and vibrant.
Periodically check the wall paneling for any signs of wear or damage, especially in high-traffic areas. Addressing these issues promptly can prevent more extensive problems down the line and help preserve the fresh look of your painted surfaces for years to come.
When to Call Professional Painters
While painting paneling can be a rewarding DIY project, there are times when it’s best to call in professional painters. Complex patterns, extensive surface damage, or simply the scale of the project can benefit from professional expertise. Professionals can ensure that the painting is done efficiently and to the highest standards, with a quality of finish that might be challenging to achieve on your own.
If you’re unsure about tackling a painting project, or if you want to guarantee a flawless finish, consider hiring a professional painting company. Experts like those at BCI bring the skills, tools, and experience necessary to transform your space efficiently and beautifully.
Are you ready to upgrade your space with beautifully painted paneling? Contact BCI for top-notch professional painting services that ensure a stunning, durable finish. Let us help you make your renovation dreams a reality.